
How to Install No-Tie Shoelaces
Install No-Tie Shoelaces for a Secure Slip-On Fit
1. No-Tie Shoelace Installation Guides
No-Tie Shoelace Installation by Pear Shoelace
No-tie shoelace installation turns lace-up shoes into easy slip-ons without sacrificing a secure fit. The setup usually involves removing your old laces, threading the new no-tie laces through the shoe, adjusting the tension, then securing the ends with the correct lock, clip or anchor system.
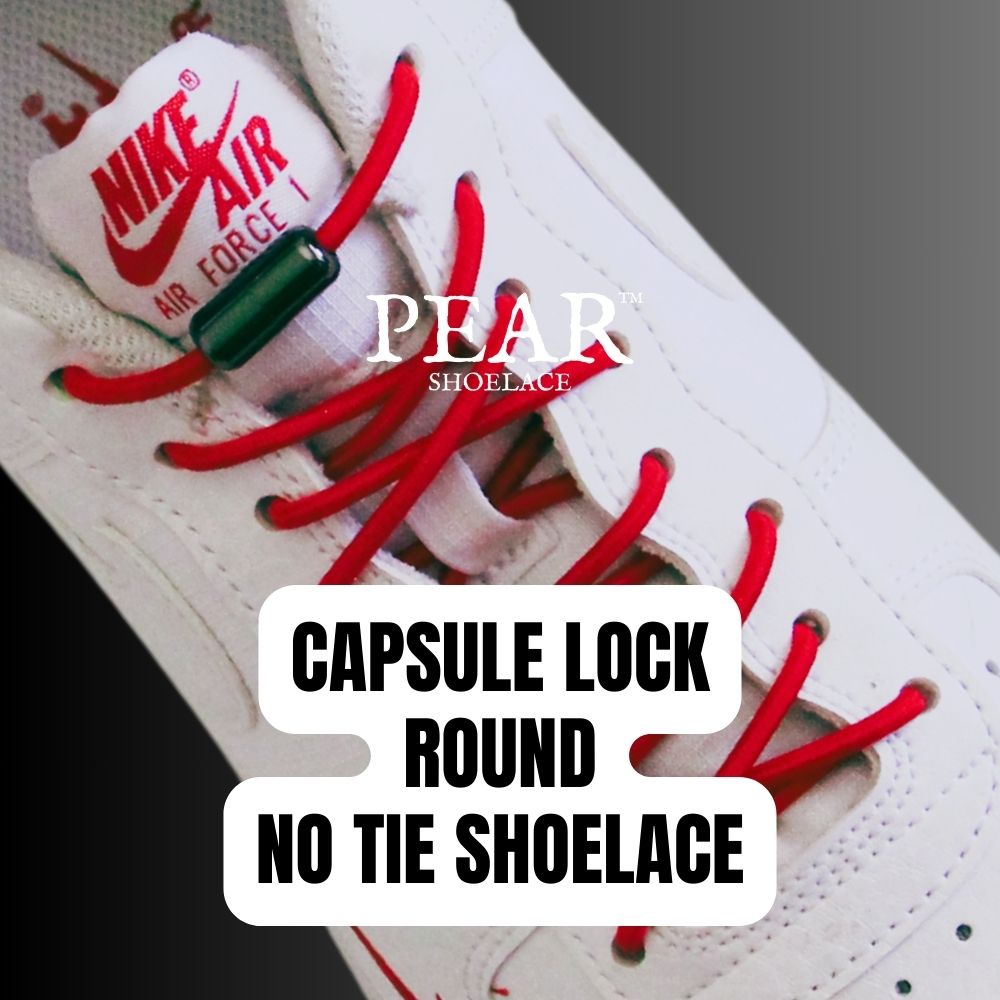
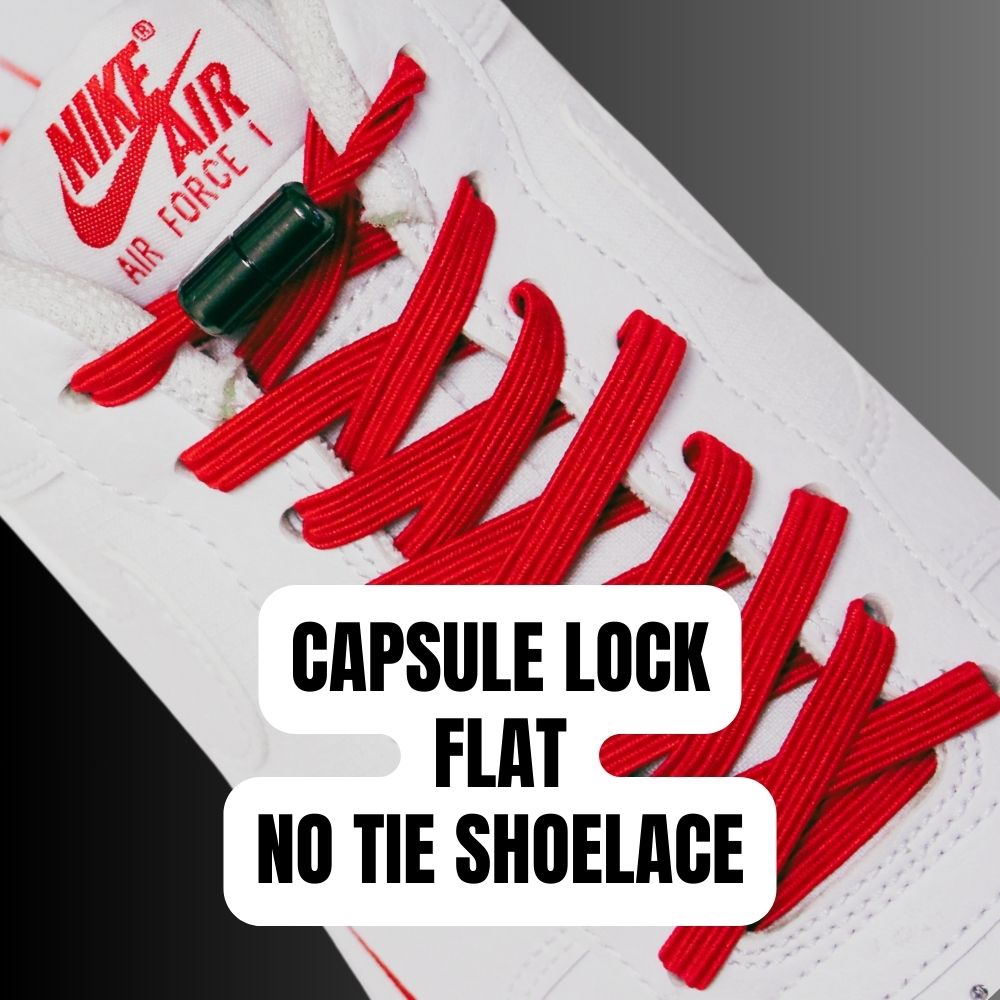
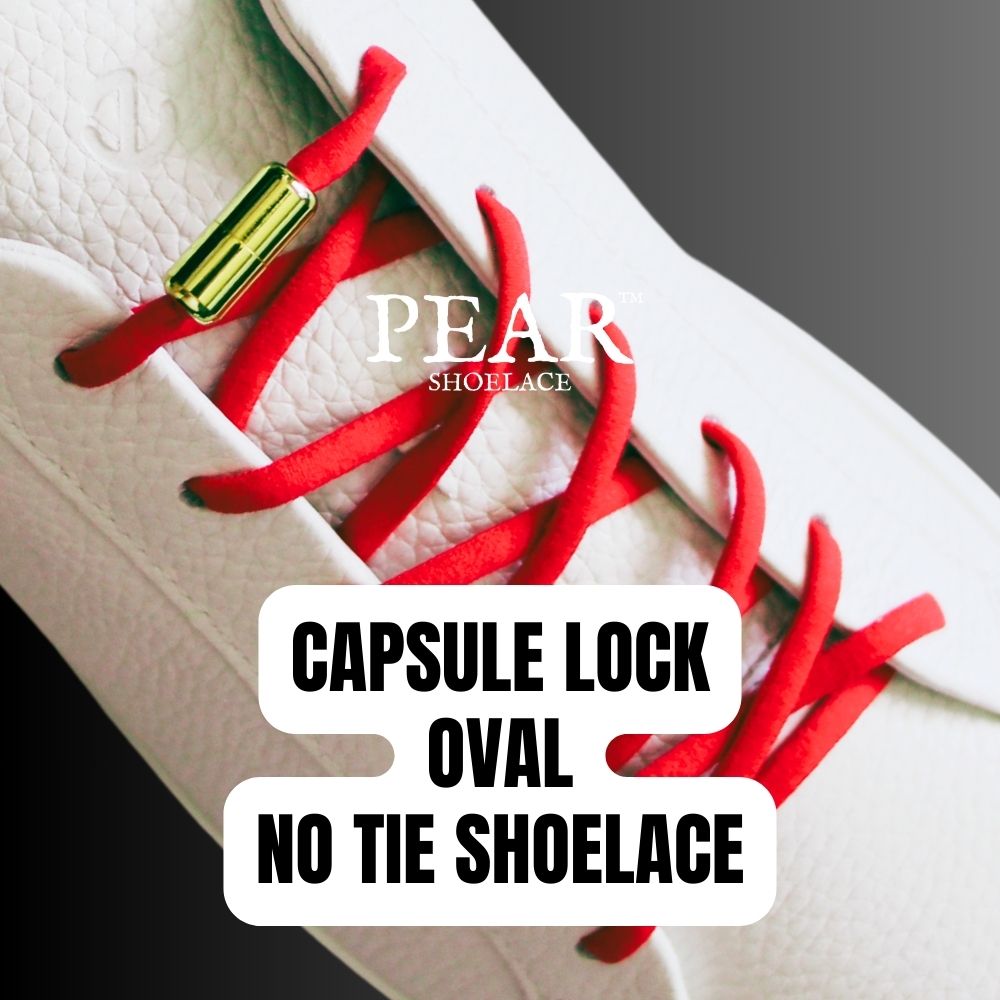
Pear Shoelace offers different no-tie installation styles for flat, round and oval laces, so the right method depends on the lace shape and lock type you choose. A clean installation should feel comfortable across the top of the foot, hold the shoe firmly in place and make the shoe easier to put on and take off each day.
How to Choose the Right - No-Tie Shoelace Installation Technique
Choose your no-tie shoelace installation method based on the type of lace, the shoe style and how visible you want the lock system to be. Flat no-tie laces are a good choice for a clean sneaker look, round no-tie laces suit a classic lace appearance, and oval no-tie laces are well suited to sportier shoes.
For the best fit, install the laces while your foot is inside the shoe so you can check the tension before trimming or locking the ends. The laces should feel snug but not tight, with enough stretch to slip the shoe on comfortably without creating pressure across the top of the foot.
Different Types of No-Tie Shoelace Installation
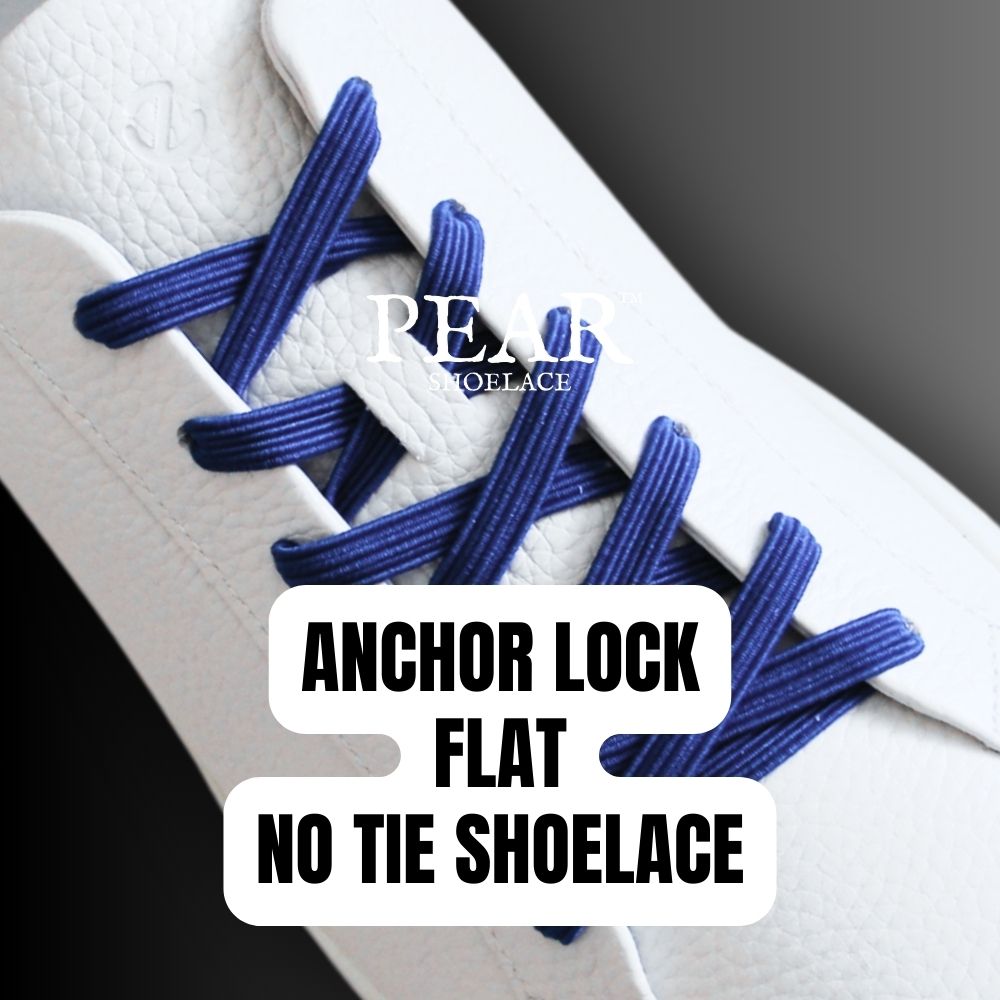
There are several types of no-tie shoelace installation, including capsule lock, anchor lock, tip lock, press lock, smart lock, magnetic lock, loop systems, curly laces and silicone no-tie styles. Each type secures the lace in a slightly different way, so it is important to follow the guide that matches your product.
Capsule and press lock systems are popular for quick tightening and adjustment, while anchor and tip lock styles create a cleaner tucked-away finish. Silicone and curly no-tie options work differently because they are designed as individual stretch sections or coiled laces rather than traditional lace-through systems.
No-Tie Shoelace Installation - Guide
The best no-tie shoelace size depends on your shoe type, the number of eyelet pairs, and your preferred fit. Sneakers and casual shoes usually need enough lace length to thread through all eyelets, adjust the tension and leave enough extra lace to secure the lock or end piece correctly.
Do not trim the lace too early during installation. Thread both shoes first, wear them, adjust the tension evenly, then secure or cut the ends only once you are happy with the fit. Leaving a small amount of extra lace before final trimming helps prevent the setup from feeling too tight.
Frequently Asked Questions - No Tie Shoelace Installation
How do you install no-tie shoelaces?
Install no-tie shoelaces by threading them through your shoe eyelets, adjusting the tension, then securing the locking system. Start with both lace ends even and lace from the bottom eyelets upward. Keep the shoe on your foot while adjusting so the fit feels natural. Once the tension is right, attach the lock or fastening piece and check that the shoe stays secure when walking.
Should I install no-tie shoelaces while wearing the shoes?
Yes, it is best to install no-tie shoelaces while wearing the shoes. This helps you set the right tension for your foot shape, rather than guessing while the shoe is empty. The laces should feel firm enough to hold your foot in place without pressing across the top of your foot. Walk a few steps before trimming or locking anything permanently.
Do I need to cut the no-tie shoelaces after installation?
Some no-tie shoelaces may need trimming after installation, depending on the lock style and shoe size. Always adjust the laces first before cutting, because trimming too early can leave them too short. Leave a small amount of spare lace so you can make minor changes later. If the system uses tips, caps or locks, secure them only after the final fit feels comfortable.
How tight should no-tie shoelaces be when installed?
No tie shoelaces should be snug but not tight when installed. Your foot should feel supported through the midfoot while still having enough room to flex naturally. If the shoe feels hard to slip on, the tension may be too firm. If your heel lifts while walking, tighten the laces slightly and test the fit again.
Can no-tie shoelaces be installed on kids’ shoes?
Yes, no-tie shoelaces can be installed on kids’ shoes if the shoes have suitable eyelets and the lace length is correct. They are useful for school shoes, sneakers, and everyday footwear that require a more comfortable fit. When installing them, check that the shoe is secure enough for walking and playing. Avoid leaving loose ends that may catch or drag.
Can no-tie shoelaces be installed on sports shoes?
Yes, no-tie shoelaces can be installed on many sports shoes, but the fit should be tested carefully before activity. Sports shoes need enough hold through the midfoot to reduce slipping inside the shoe. After installation, walk, jog lightly and check heel movement before using them for regular sport. For high-impact use, a firmer tension setting is usually better.
Do no-tie shoelaces work with different lace materials?
Yes, no-tie shoelaces can work with different materials, but the feel of installation may change. Elastic laces stretch more and are easier to slip on, while firmer laces can create a more locked-in fit. Round, flat and oval shapes may sit differently through the eyelets. Choose the material and shape that suit the shoe style and the level of flexibility you want.
Can I install no-tie shoelaces without special tools?
Yes, most no-tie shoelaces can be installed without special tools. You usually only need the laces, the included lock or fastening pieces, and a pair of scissors if trimming is required. Take your time setting the tension evenly on both shoes. A clean installation looks better and helps both feet feel balanced.
Will a no-tie shoelace installation change the look of my shoes?
Yes, no-tie shoelace installation can change the look of your shoes depending on the lace colour, shape, and lock style. A matching colour gives a clean, simple finish, while contrast colours make the laces stand out more. Make sure the lace sits flat or evenly rounded through each eyelet. A tidy installation helps the shoes look more finished.
How do I care for no-tie shoelaces after installation?
Care for installed no-tie shoelaces by wiping them clean and checking the locks regularly. If the laces get dirty, use a damp cloth and mild soap rather than harsh cleaners. Let them air dry fully before wearing the shoes again. Check the tension regularly, especially on shoes worn daily, because elastic styles may relax slightly over time.